-40%
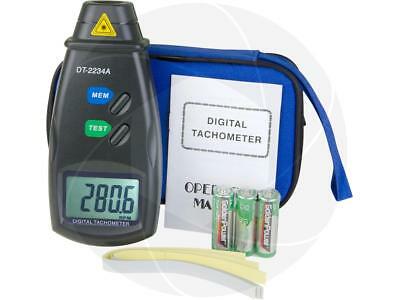
EHDIS Digital LCD Photo Tachometer Non-Contact RPM Meter Motor Speed Gauge Gu...
$ 22.68
- Description
- Size Guide
Description
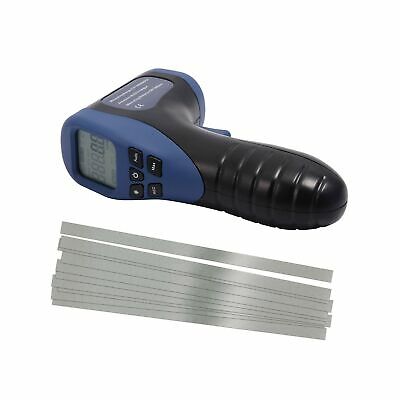
Brand New EHDIS Digital LCD Photo Tachometer Non-Contact RPM Meter Motor Speed Gauge Gun Style Includes 10 Reflective TapesManufacturer model:
LH900RF
** important: Package included reflective sheeting tape, you must stick this tape(cut-to-size) onto the object and begin measure)** No-Contact Gun type digital tachometer with stable performance.
Automatic and Manual Measurement Functions. Measuring Range: 2.5 to 99999 RPM. Added: 10 pcs Silver gray to prevail in kind of basic white Wide angle reflectivity taps
Readings are displayed on a large, easy-to-read LCD screen; stores last, minimum, and maximum reading; features auto-zero adjustment
Measure RPMs of motors, machinery such as circular saws, speed of a lathes and other rotating devices
Accurate to +/- 0.02 percent and capable of measuring at a distance from 2-20 inches(50-500mm); RPMs measured over 0.5 second sampling time
Description
Product Description
Read more
Feature
1.Mini Handheld Gun Type Design
2.Wide Range of Measurement and High Resolution Automatic and Manual Measurement Selectable Data Record and Recall (60 readings)
3.MAX/MIN/AVG Value Record Functions
4.Record Time Interval Setup Function
5.LCD with White Backlight
6.Data Hold Function
7.Auto and Manual Power Off
8.Low Battery Indication
Battery Replacement
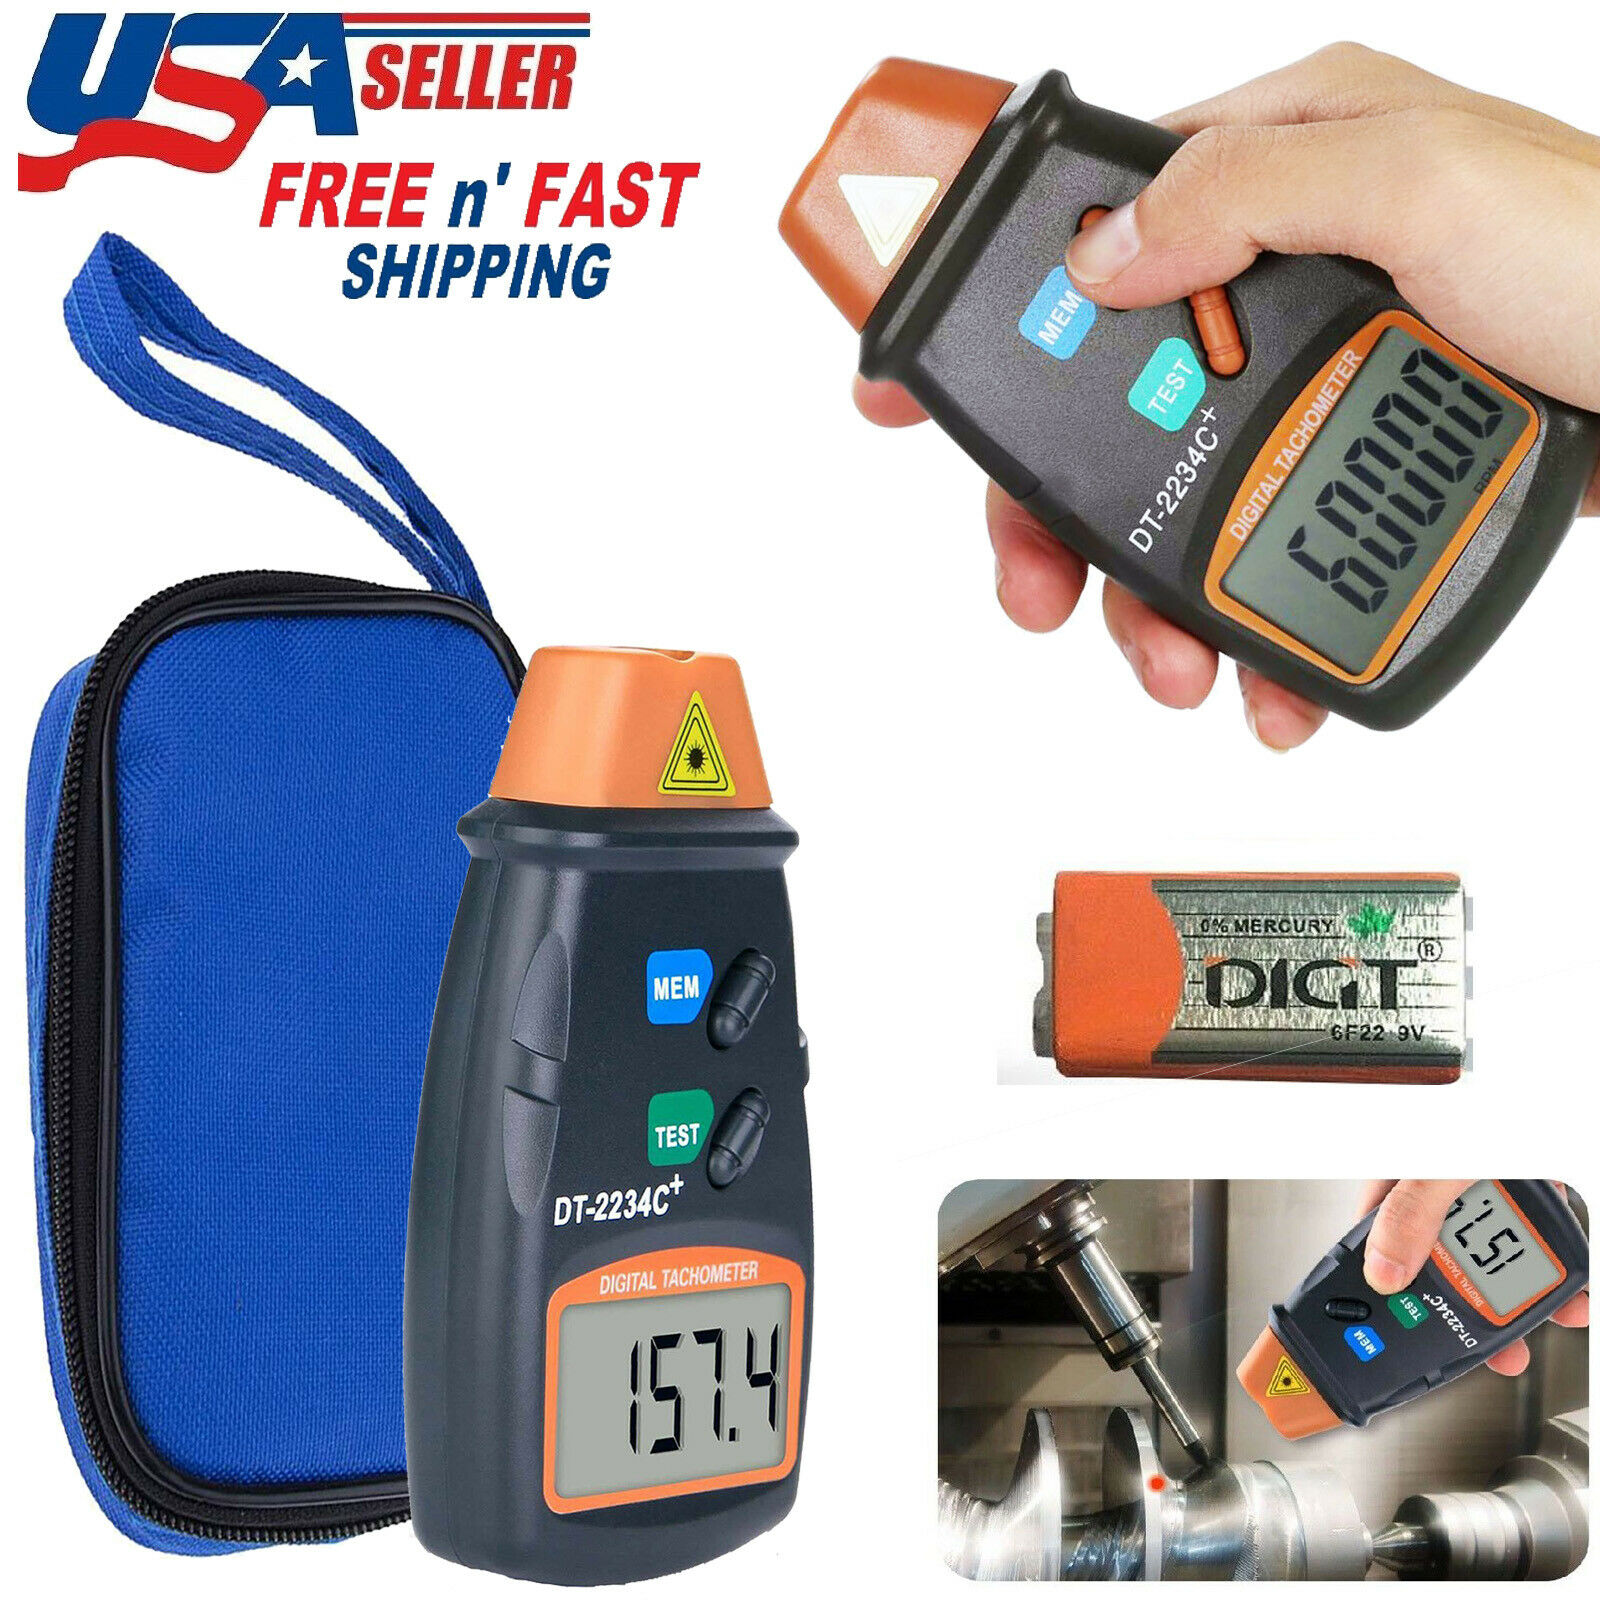
Power supply :9V battery
(Not Included)
If your tachometer meter does not power on as usual or the low battery icon appears on the LCD display, please replace the 9V battery as soon as possible.
Specifications
Measuring Range: 2.5.99999 RPM
Resolution: 0.1RPM, at 2.5- 999.9RPM; 1RPM, at 1000~99,999 RPM Accuracy: t0.02%+1 digtal
Measuring Distance: S0~S00 mm
Sampling Time: 0.5s (above 120RPM)
Data Storage Capacity: 60 Readings
Auto Power Off: After 20s
Operation Humidity: 10 to 90%RH
Storage Humidity: 10 to 75%RH
Read more
Digital Tachometer
This digital tachometer provides a non-contact count of RPM measurements. With the assistance of the laser pointer beam you can obtain accurate measurements of rotating objects safely. We recommend that you read and follow the manual carefully before use.
Warning:
Do not direct the laser pointer at an eye; look directly into the beam or indirectly off reflective surfaces. Safety eyewear is recommended.
Do not use the laser near explosive gases or in other potentially explosive areas.
Package included:
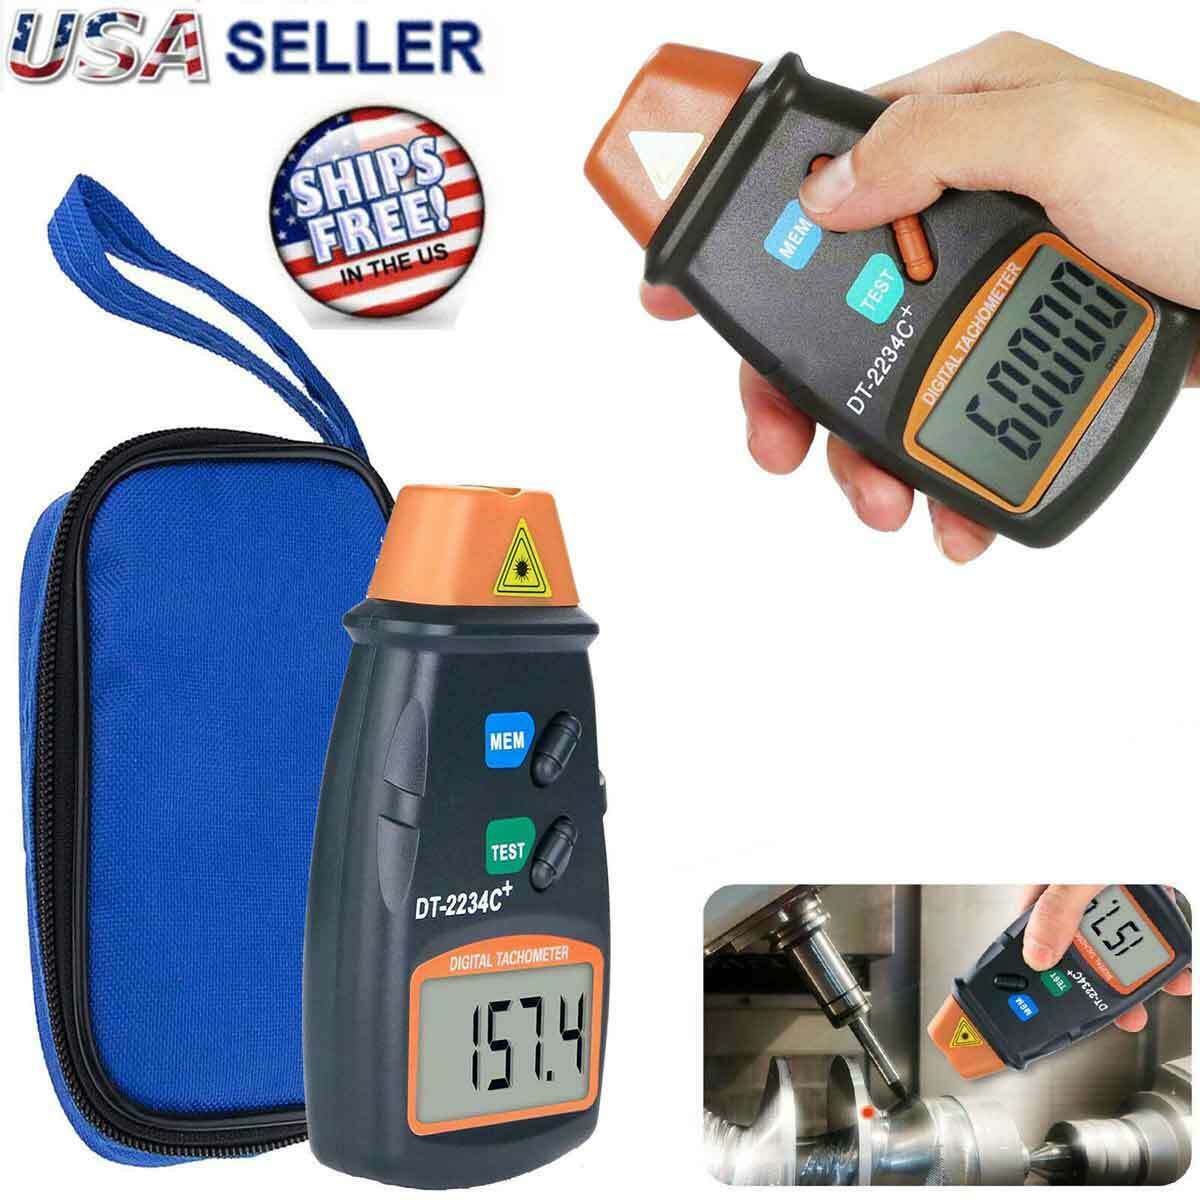
1 x Digital Tachometer
1 x English User Manual
1 x Protective bag
10 x Reflective sheeting tape
Read more
Trouble Shooting
1. Power on but no display or the display disappears
a. Check the battery is in place with good contact to the pins and the correct way round.
b. Remove battery for one minute and re-install.
c. Replace the battery.
2 Bright ambient light may interfere with the reflected light beam.
Shading the target area may be necessary in some cases. USE INA SHADED AREA OR OUT OF DIRECT SUNLIGHT FOR BEST RESULTS CAUTION: Rotating objects can be dangerous. Use extreme care.
3.Keep the measuring distance: 50~500mm(as close as safely possible)
4.Do not direct laser pointer at an eye
; look directly into the beam or indirectly off reflective surfaces. Safety eyewear is recommended.
5.Do not use the laser near explosive gases or in other potentially explosiveareas.
Read more
RPM Meter Operation
1
.Turning on and off your Meter
a. Press the
Power button
to turn on your meter.
After 10 sec without any operation the meter will automatically power off.*Press the
Power button
again to turn off the meter manually.*
b.Under auto measuring mode,the meter will work all the time until the battery runs out.
2.Measuring
a. Apply the photographic strip to the object being measured when the part is not in motion, and shade any other reflective surfaces.
b. When the item is rotating press the trigger and point the gun at the photographic tape using the laser beam as a guide and the reading should appear on your LCD.
CAUTION: Rotating objects can be dangerous. Use extreme care.
c.Keep the measuring distance:50 -500mm(as close as safely possible)
N
ote: Bright ambient light may interfere with the reflected light beam. Shading the target area may be necessary in some cases. USE IN A SHADED AREA OR OUT OF DIRECT SUNLIGHT FOR BEST RESULTS.
3.Hold Function
This instrument automatically enters Hold Mode when not measuring. When you wish to hold a reading, you are measuring on the display release the measuring trigger, the meter will enter Hold Mode and the reading will freeze on the display.
4.Max/Min/Avg Value Measurement Function
Press Max Button
once
to choose Max (Maximum) reading,
twice
for Min (Minimum) reading, and a
third
time for Avg (Average) reading display modes. A forth Press of the Max Button will exit back to the normal display mode.
Max: When is this mode the meter will display the maximum value reading the meter reached in that test.
Min: When is this mode the meter will display the minimum value reading the meter reached in that test.
AVG: When is this mode the meter will display the average value reading the meter reached in that test.
5.Backlight Function
Press
Backlight Button
to turn on/off the backlight.
6.Auto Measuring Function
Press the Auto Button to enter Auto Measuring Mode. Press this button again to exit auto measuring mode.
Note. The laser will stay on permanently in this mode and there is no need to hold the Trigger Button
7. Record Function
Under Auto Measuring Mode press the REC Button to start recording measurements (max 60 data readings)
Press this button again to pause the recording.
8. Recording Measurement Time Interval Setup
Hold the REC Button and then turn on the meter to enter the mode of adjust record time interval between 1 to 99s
*Backlight button (↓) and Auto button (↑)
9.Recall Record Data
Hold the Measuring Trigger then turn on the meter to enter recall data mode. *Backlight button (↓) and Auto button(1)
Shipping and Handling
Please allow 5-7 business days for the package to arrive, regardless of buyer location within the US.
We will provide an online tracking number to you once the item has been shipped.
It may take a few business days for our automated system to process the tracking number onto eBay. However, this will not affect the shipping times.
Return Policy
All our products are brand new and sealed. All items qualify for returns within 30 days of receipt.
Feedback
We take our reputation seriously. If you have any questions or concerns, please contact us and we will respond back to your message within 24 hours.
